Showing posts with label Baby Boy. Show all posts

November 10, 2012

365 Blankets - # 32-45

It has been 4 weeks since I have posted.  I have been sewing when I can but life is getting the better of me right now.  With two little ones and a busy fall, time for sewing has been put on the back burner.  Which also means that I have had even less time for photographing my work and posting about it.  It was a gorgeous November day out today and perfect for photography, so I got a little done!

Sorry, I didn't get time to edit these, but they aren't too bad as is.

# 32 - Car Seat Blanket - I love how this one turned out!


#33 - Flannel Ragged Blanket for the Facebook Giveaway

#34 & 35 - Flannel Swaddlers

#36 & 37, Resize Quilts, turquoise satin and muted green


#38 & 39 - Cream Cotton Swaddlers with brown edge thread

#40 - Knit Swaddler, Firetrucks

#41 - Double Flannel Swaddler - Pink Plaid and Paisley

#42 - Flannel Swaddler - Classic Cars

#43 & 44 - Extra Thick Flannel Swaddlers - Purple Plaid

#45 - Quilted Flannel Swaddling Blanket - Paisley and brown


October 8, 2012

365 Blankets: # 25-31

I have been busy sewing!  I am still a week behind, but I have 4 more blankets in the works and lots more fabric!

Blanket # 25: Double Knit Blanket - Guitars on Gray
I made this one for my son, since I don't have a big blanket for the colder weather.  The knit fabric is great, it is so soft and warm.  I love this one!


Blankets # 26 & 27: Flannel Receiving Blankets - Turquoise and Brown Jungle Baby


Blanket # 28: Flannel Ragged Blanket - Turquoise and Brown Jungle Baby


Blanket # 29: Flannel Blanket - Blue and Cream Plaid


 Blanket # 30: Knit Swaddler - Flowers Garden on Lavender


 Blanket # 31: Double Flannel Blanket - Forest Friends and Dark Plaid


October 1, 2012

365 Blankets: # 21-24

More Receiving Blankets, I know, I make lots of receiving blankets, but they are such useful blankets to have with little ones.  I have a little one myself and I use flannel receiving blankets all the time!  They are great for nursing covers, folded up as burp cloths, for swaddling, for tummy time, as play blankets for older siblings, as car seat covers and more.  So, that is why I make them a lot.

Oh, and I make better blankets than most of the ones you can find in the store.  The blankets I make are almost always 40x40, which means you can use them for more then the first two weeks of your baby's life.  Store blankets are often 30x30, which means they are a good burp cloth size!  I also have a variety to choose from in cute boy, girl and gender neutral prints.  And they are a good deal too, only $14-$14.50 for most of them.

Plus, I don't think it would be physically possible for me to make 365 baby quilts or ragged blankets in 1 year.  Not when I have two little ones competing with my sewing machine, for my attention.  So, I make quick and simple receiving blankets and swaddling blankets. 

And without further ado, 4 more adorable receiving blankets....

Blanket # 21 & 22 - Flannel Receiving Blankets
Pretty Umbrellas


Blanket # 23 & 24 - Flannel Receiving Blankets
In The Air


September 26, 2012

September 6, 2012

365 Blankets: #3 - Quilted Flannel Blanket

This is another simple blanket.

1. Take two pieces of flannel and cut both pieces to about the same size (you will probably need to recut the edges once they are sewn together, so don't be worried about them being exactly the same size).

2. Pin the pieces together and quilt. 

3. Serge around the edge of the blanket

4. That is it, that easy!


Here are photos and a few tips that I discovered along the way.

the fabric: white and green baby boy print from the receiving blankets and a green flannel with white polka dots


 Cut the fabric to approximate size


 I like to round the corners of the blankets I make when I am going to do a serged edge, but you don't have to.


Front and back


Lay the two pieces flat with right sides facing out.


Smooth the wrinkles out, flip over and repeat and then pin about every 8-10 inches.
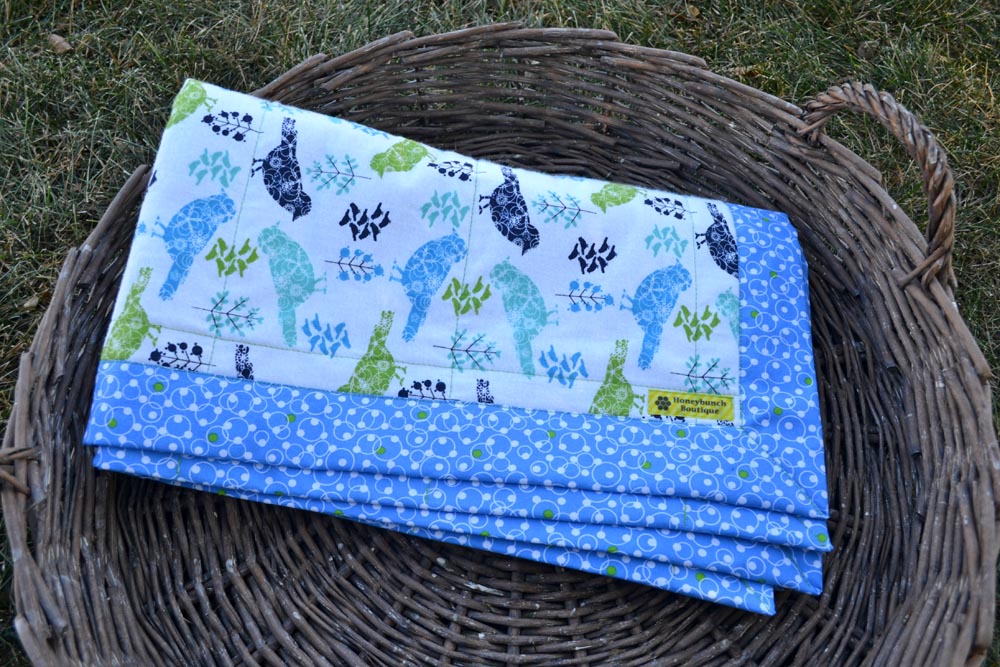

Oops, I measured wrong :)


I used a Free-Motion Presser Foot to quilt the two layers together.


Look close, you can see where it is quilted


If you make a mistake, (like not putting the presser foot back down after a turn) all you need to do is sew back and forth over the end of your stitch and continue on.


Results


 All quilted together.


 Clean up the edges and curve the corners again if you need to.


Serge around the outside


Sew over the serge thread tail end


Add a tag


All done. Finished size, approx. 34x40


Ready to list!


Here is another blanket that I made in a similar way, but I used a walking foot made straight quilt lines.