December 1, 2011

Sweater Mitten Tutorial

Make these super cute mittens out of an old sweater and some fleece, it's that easy!!! I used some sweaters I got on clearance last year to make these. I mixed pieces from 3 different sweaters, I think they are more cute that way.

There are lots of tutorials for these mittens out there, I just wanted to share mine. I uploaded the pdf files for the Adult Mittens and also a file for Child and Baby Mittens, I think that will be the best for users to just print it out and go from there! I hope the links work.

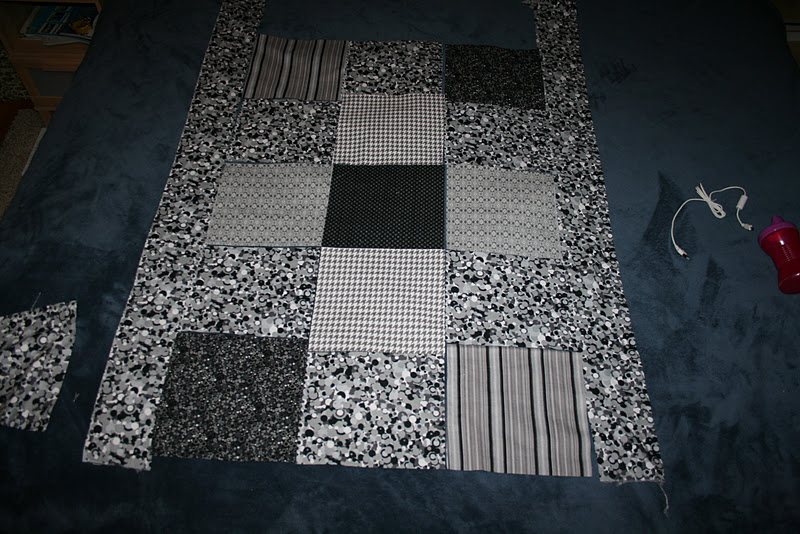
 3 Pairs of Sweater Mittens made with this pattern

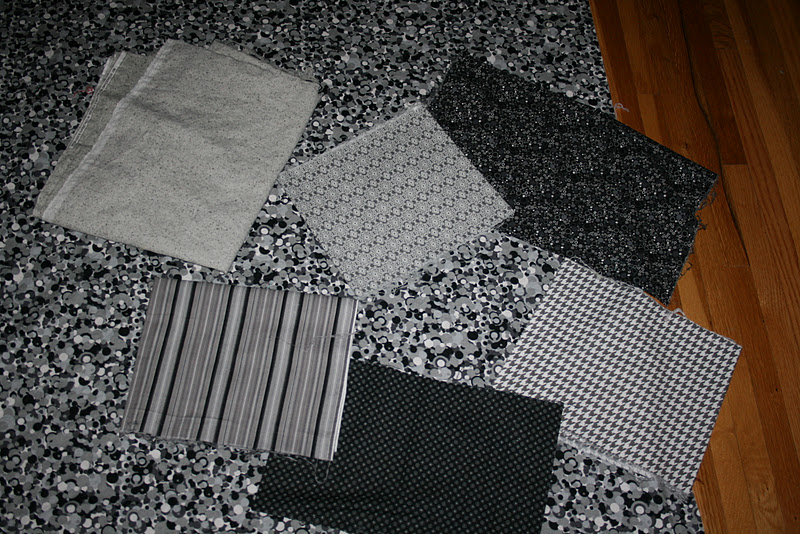
 The three cut out pieces for this patter, plus you need the 2 cuffs from your sweater for the mitten cuffs

I will post the pattern later, I don't have it on this computer.  Oh, and I also have a kids size patter too.


All of the pieces you need to make one set of mittens.

 I shortened the thumbs, I'll mark that on the pattern for you. 
You can leave it long if you have long thumbs :)

 Put the two pieces that have the thumb shapes on them together, this will make the palm side of the mitten.


 Mark 1/4 inch down from the corner and also straight across from that mark

 Sew from mark to mark

 Lay palm piece on the front piece

 This photo shows one front piece up and one palm piece up


 Make sure that the seam on the opposite side of the thumb lays flat when the thumb is up.


 Sew around 1/4 in from the edge and when you come to the thumb, sew just up to the stitches that are there, DO NOT sew over the stitches, sew just up to them. If you sew over them, it will make the mitten pucker!


 Flip the thumb up and begin sewing from the stitches on the other side of the thumb

 This is what you will have when you have sewn all 3 pieces together


 Do the same with the sweater pieces

 If the bottoms are uneven, trim excess


 Take the fleece lining, turn it inside out so the seams are smooth on the outside, take the cuff and turn it inside out so the smooth seams are facing the fleece. Line up the cut edges and sew 1/4 in around the bottom edge.


 This is what you have, when you are done, the sweater cuff is sewn onto the fleece lining.  The picture shows one cuff pulled down

 Turn the fleece linings inside out, so that the smooth seams are on the inside, so when you put your hand in the mitten, it is nice and smooth and soft.

 Put the fleece mitten on

Turn the sweater mitten inside out so that the rough seams are on the inside of the mitten

 
 put the sweater mitten on over the fleece mitten
Roll the cuff up

 Sweater mittens!


November 21, 2011

Can You Find Candee Cayne?

Honeybunch Boutique is very excited to announce that we are participating in the EtsyBABY, 4th Annual Candee Cayne Hide n Seek Holiday Hunt!

November 6, 2011

Custom Baby Quilt

I had an order come in a couple weeks ago for a custom baby quilt, so here is a little photo story of the process of making the quilt.

 My little helper picking out material at the store

 The chosen materials, prewashed

 A closer look

 I cut out 15 blocks and then added a strip on both sided to make it wider. I had an idea of the layout in my head, but put several different patterns together, to see what I liked best.

Original Layout

 I brought the rows of the multi-gray circles up in between the other pattern rows, 
and tried a dark center square

 I staggered the multi-gray circle material in with the other patterns, 
I liked this better, but still not quite right

 I changed the center square back to the dark, now we have a winner!

 Sew the pieces together, add the batting and the back piece and then a yellow satin border and you have a wonderful, custom baby quilt!

 
The final quilt

 Artsy shot in a basket

 Artsy shot #2

 Artsy shot #3

The back, you can see the quilting pattern here.

If you are interested in having a custom baby quilt made, the usual size is 36x40, pricing is $35-$65 and breakdown is as follows:
- solid pieces front and back $35
- solid back and simple block pattern $45
- solid back and complicated pattern $55
- binding 1: wrap around, the material from the back wraps around to create the binding, included
- binding 2: satin binding in a color of your choice, add $5

Email me at HoneybunchBoutique@yahoo.com to place your order. I will work closely with you throughout the whole process.  I will only make items that are of the same quality and design that I would normally sell on Etsy, so you are under no obligation to purchase the quilt. If in the end, you decide you do not like how it turned out, I will simply list it on Etsy!

November 5, 2011

Dress to Skirt Tutorial

I was doing some shopping the other day and found an adorable set of sundresses in the clearance section. My little girl can't wear sundresses anymore this year, so I figured I would make them into a skirt. Plus, it is pretty difficult to find skirts for little girls sometimes, so this is a way to make them.


 The dress, and it also came with a diaper cover, bonus!

 Have your little girl hold it up and see how long you want to make the dress

 Lay your dress out flat and square as you can on the cutting mat, this is where I am going to cut mine.

Note: This was my first attempt at this, and in hindsight I would do it differently. I had some trouble with my bobbin and it messed up the 1st row of elastic thread, so I had to go back and change the elastic waist.

Us a thread color that coordinates with your material, I am using brown. Use elastic bobbin, you can get this by winding elastic thread onto one of your empty bobbins. 

 Sew along the edge of the cut waist line

 You can see the elastic bobbin pulling the material in as you go

 When you get to the end, go back and forth a couple of times. You can stop, pull out your thread and bobbin, snip and tie the tails together, to make sure they don't unravel. I took a short cut and didn't snip the threads, but just jumped down to the next row, about 1/4-1/2 inch down, went back and forth a couple times and continued around with the next row. Either way you do it, just repeat 3-4 times.
 2nd Row

 My little model

 Close up on the waist

Now as I noted before, I had trouble with my bobbin being too loose, so I ended up just folding the material over a piece of elastic that I measured to her waist. Sew the two ends of elastic together, so you have a loop. Fold the material over the elastic band, stitch on both sides of the elastic to keep it in place. If you stitch over the elastic, make sure you stretch out the material evenly, so the material stretches evenly with the elastic.